
Before any kart enters the dynamic stage of the Edgeline Go-Kart Championship, it must prove one thing .It can stop safely. Speed is exciting But safety builds confidence.
The In-House Brake Test is one of the most critical technical validations in the entire championship journey.
It confirms that your braking system is strong, reliable, and capable of handling real racing conditions.
This test is not just a requirement it is a responsibility.
Why Brake Test is Necessary
Many teams focus heavily on speed, power, and acceleration but forget that braking defines safety.The brake test ensures : Driver safety Vehicle control System reliability Emergency stopping capability Compliance with motorsport safety standards Without passing the brake test, a kart cannot be trusted on track.
In the Edgeline dynamic event structure, the Brake Test acts as the entry-level safety validation before participating in further dynamic tests.
This ensures that only safe vehicles enter the racing environment.

When Should the Brake Test Be Performed?
The brake test must be conducted:
After completing In-House Technical Inspection (TI)
Before submitting dynamic event readiness
Before transporting the kart to the final eventAccording to the official instruction sheet, the brake test must be conducted only after completing the In-House Technical Inspection.
This sequence ensures that the vehicle is mechanically ready before testing braking performance.
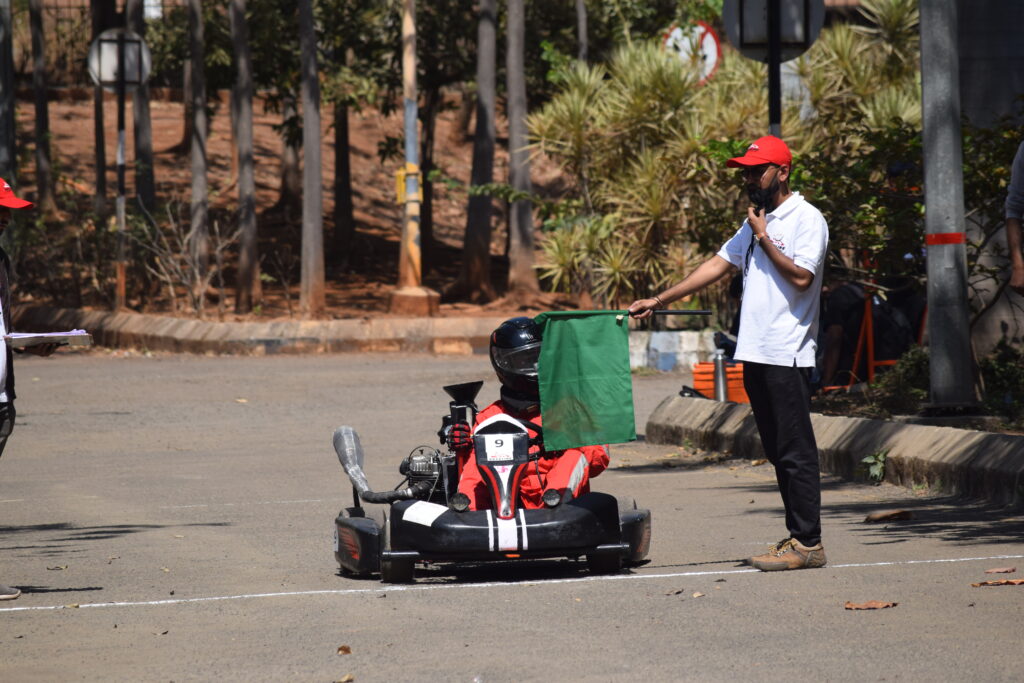
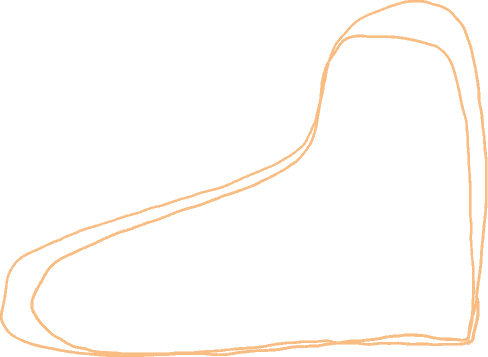
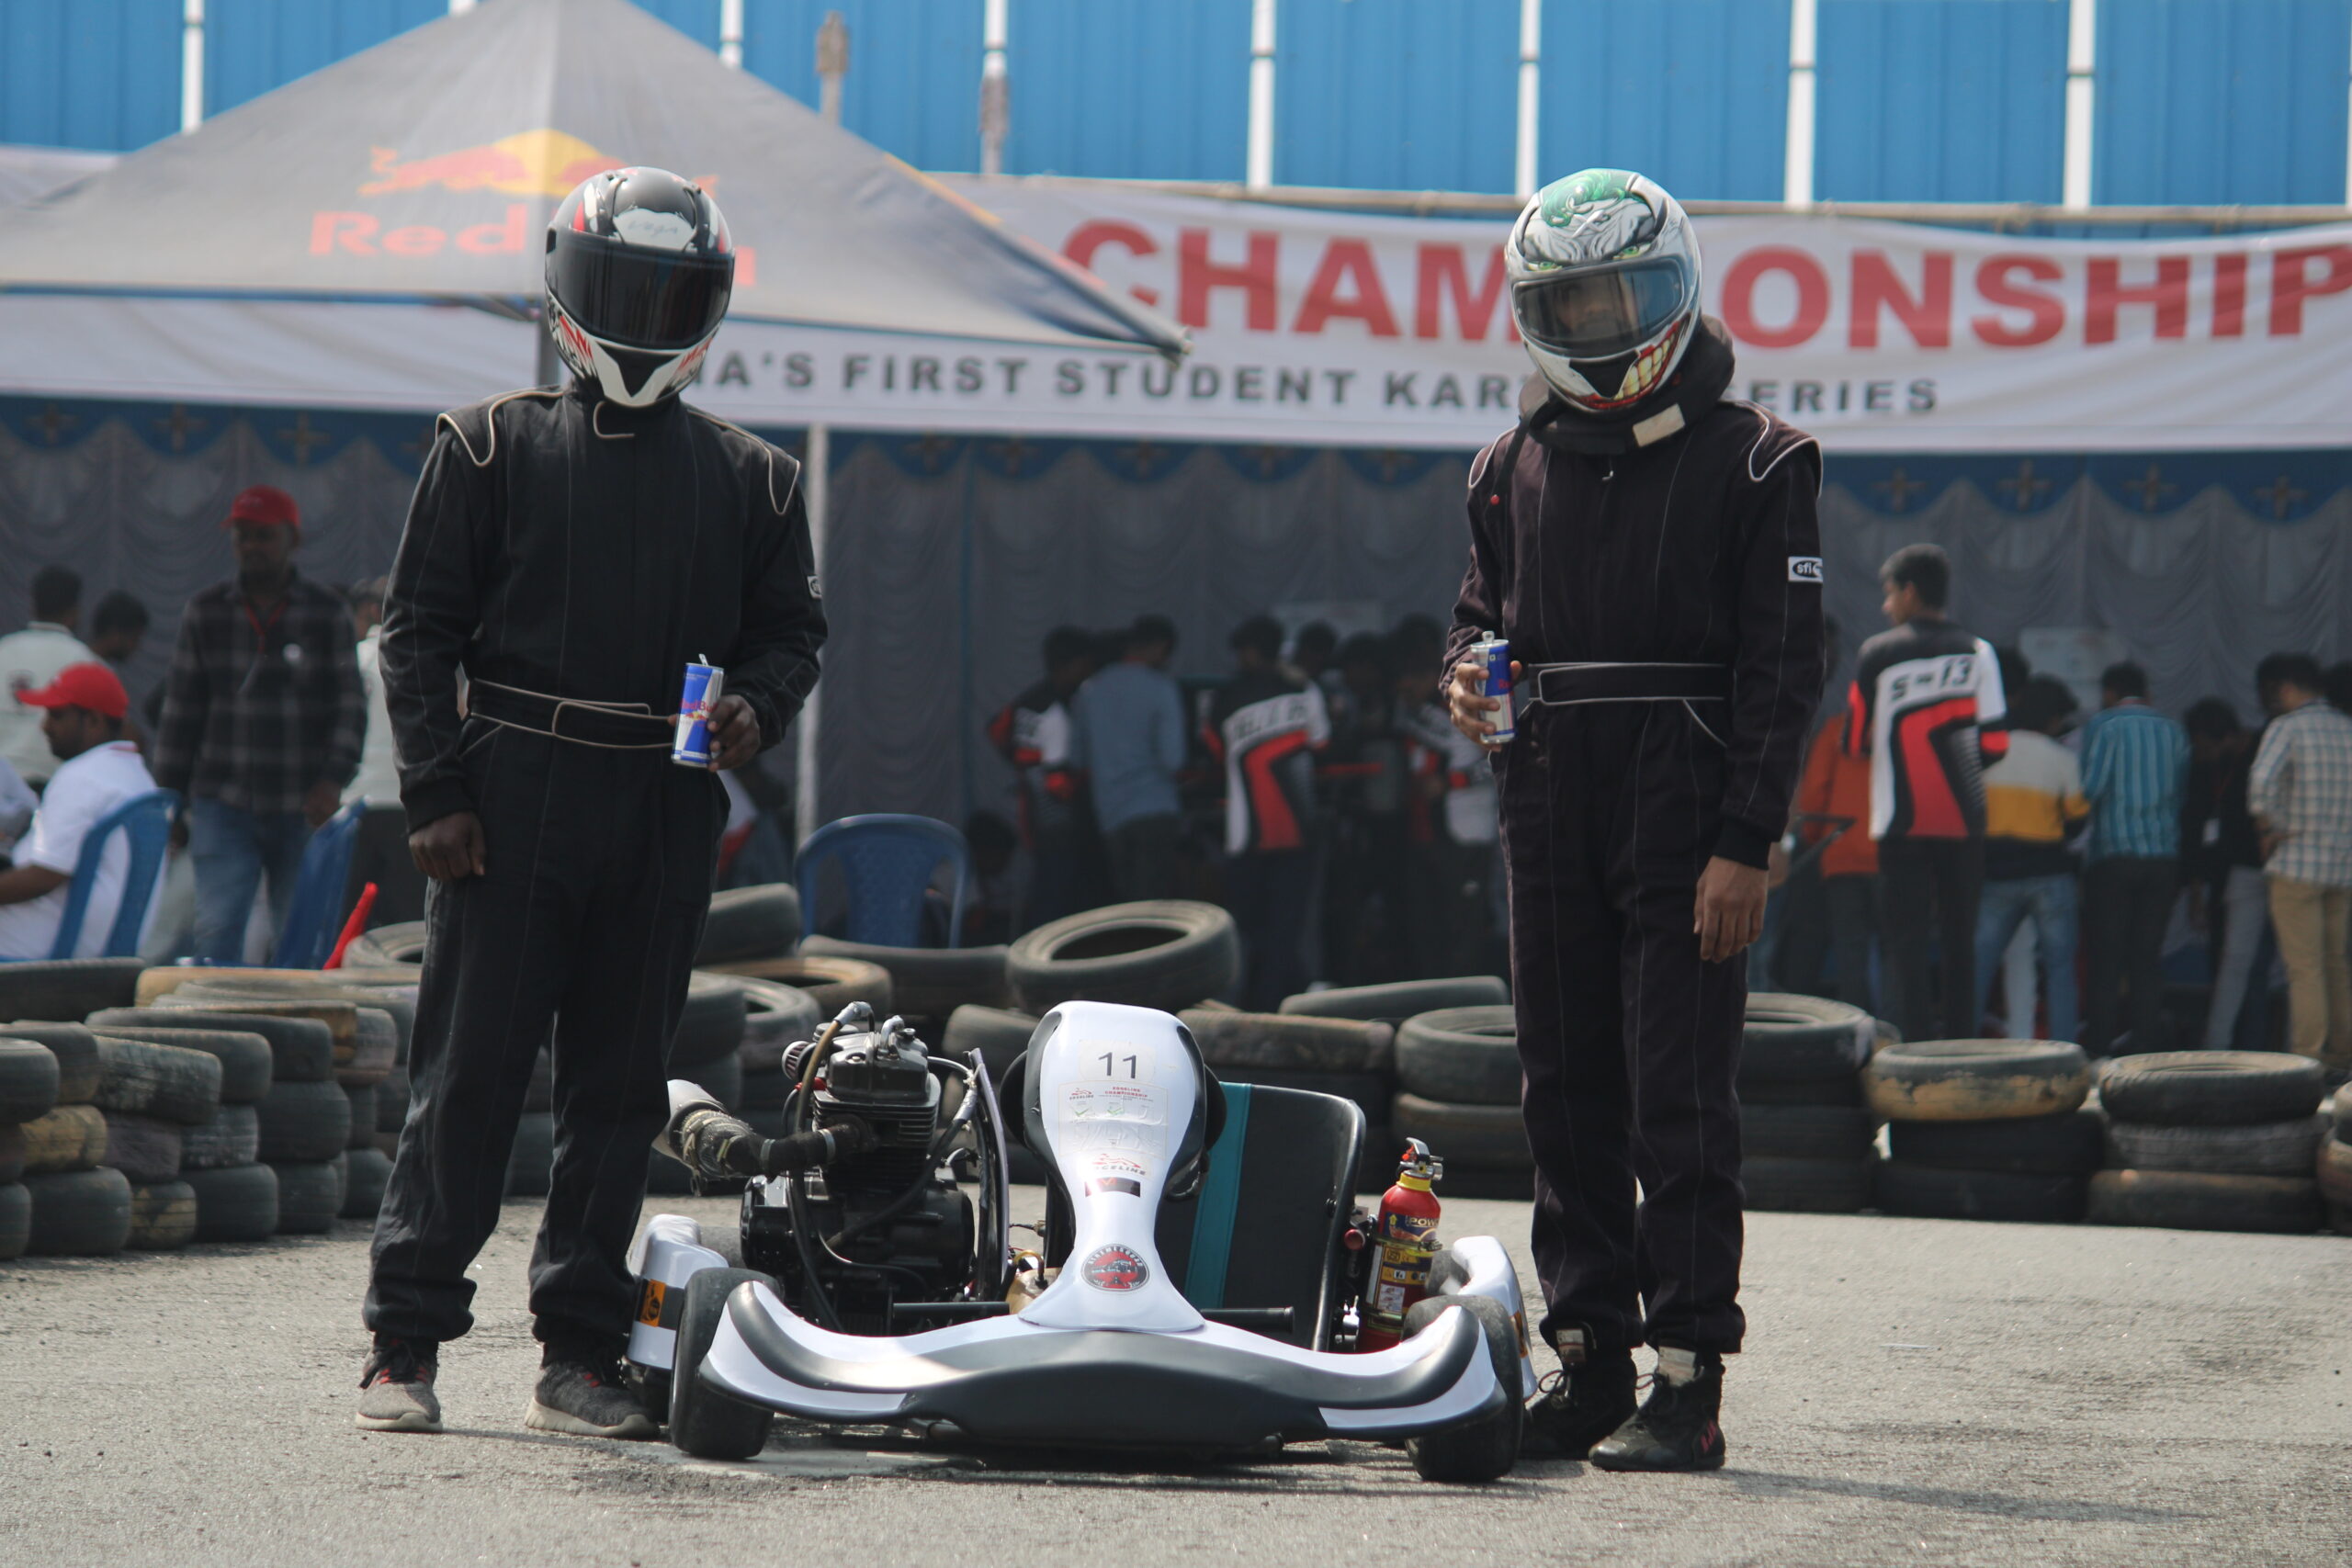
Brake Test Layout Setup
How to Prepare the Testing Area
The test must be conducted in a safe and controlled environment.
Area Requirements
Open area
No obstacles within 180 degrees
Straight road
Minimum 60 meters length
These conditions ensure safe acceleration and stopping distance testing.
According to the official layout description, teams must prepare a straight testing path with marked lines to guide braking execution.
Brake Test Marking Layout
Teams must draw four important lines on the road:
Starting Line
Brake Line (30 meters from start)
Stop Line (7 meters after brake line)
Extra Line (3 meters after stop line)
This layout ensures standardized measurement across all teams.
Step-by-Step Execution | Follow this sequence carefully.
Each team must submit:
Two Brake Test Videos
Required Views:
Front View
Side View
These videos allow judges to verify:
Brake timing Wheel locking Stopping distance Directional control According to the instruction sheet, teams must submit two videos showing the brake test from front and side views.
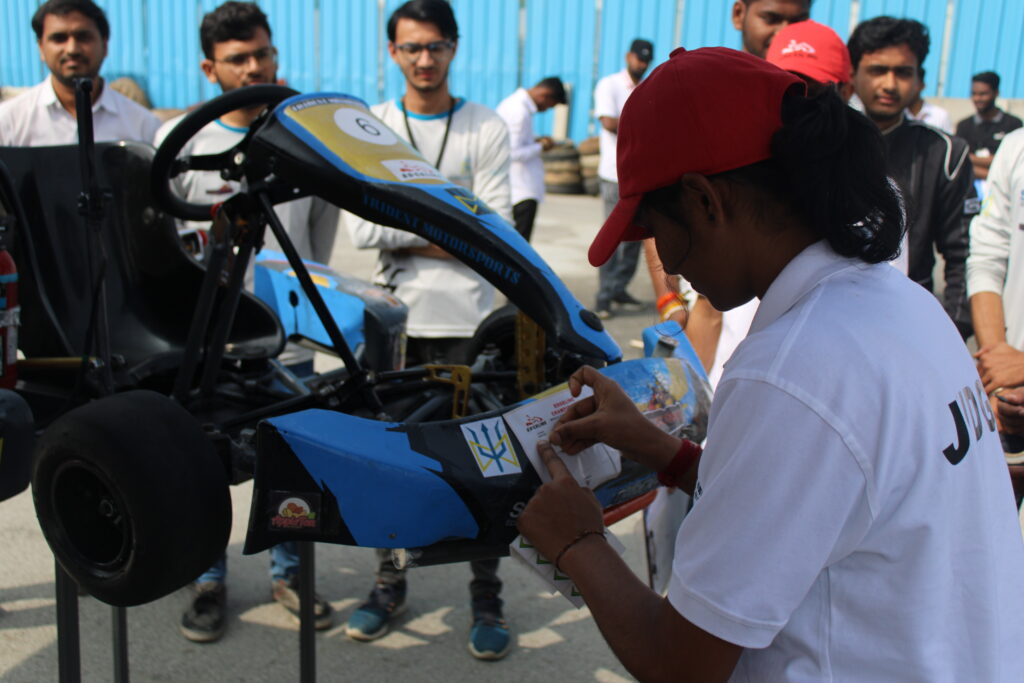

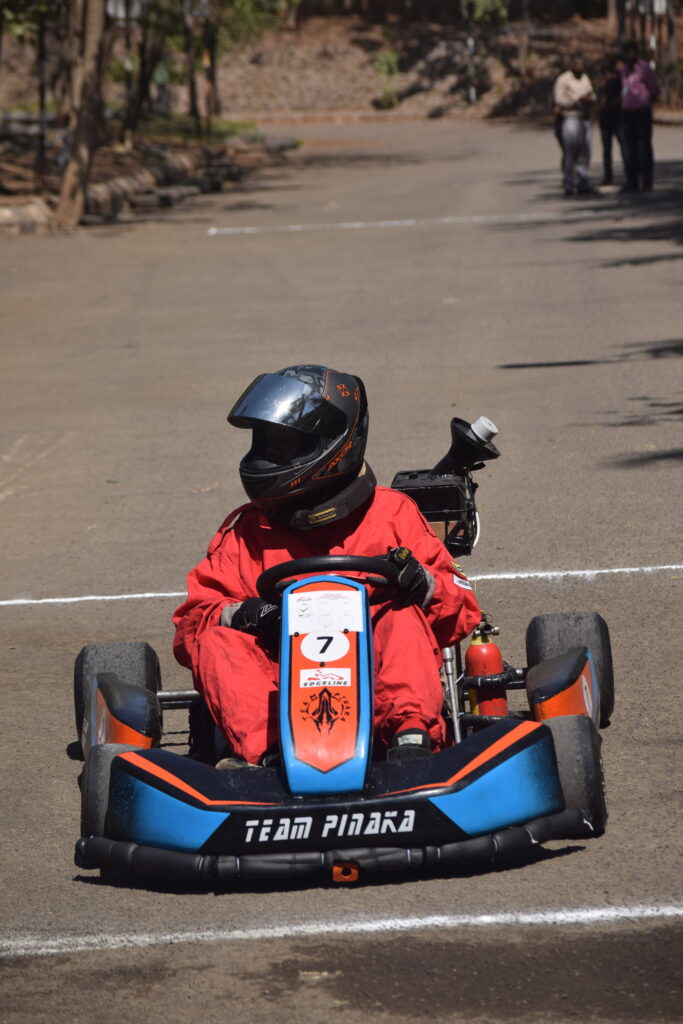
Many teams brake below required speed.
Result:
✖ Inaccurate braking validation
✖ Failed test submission
Always reach minimum 40 km/h before braking.

Common issues:
- Camera too far
- Brake line not visible
- Wheel locking unclear
Always ensure:
✔ Clear markings
✔ Visible braking moment
✔ Stable recording
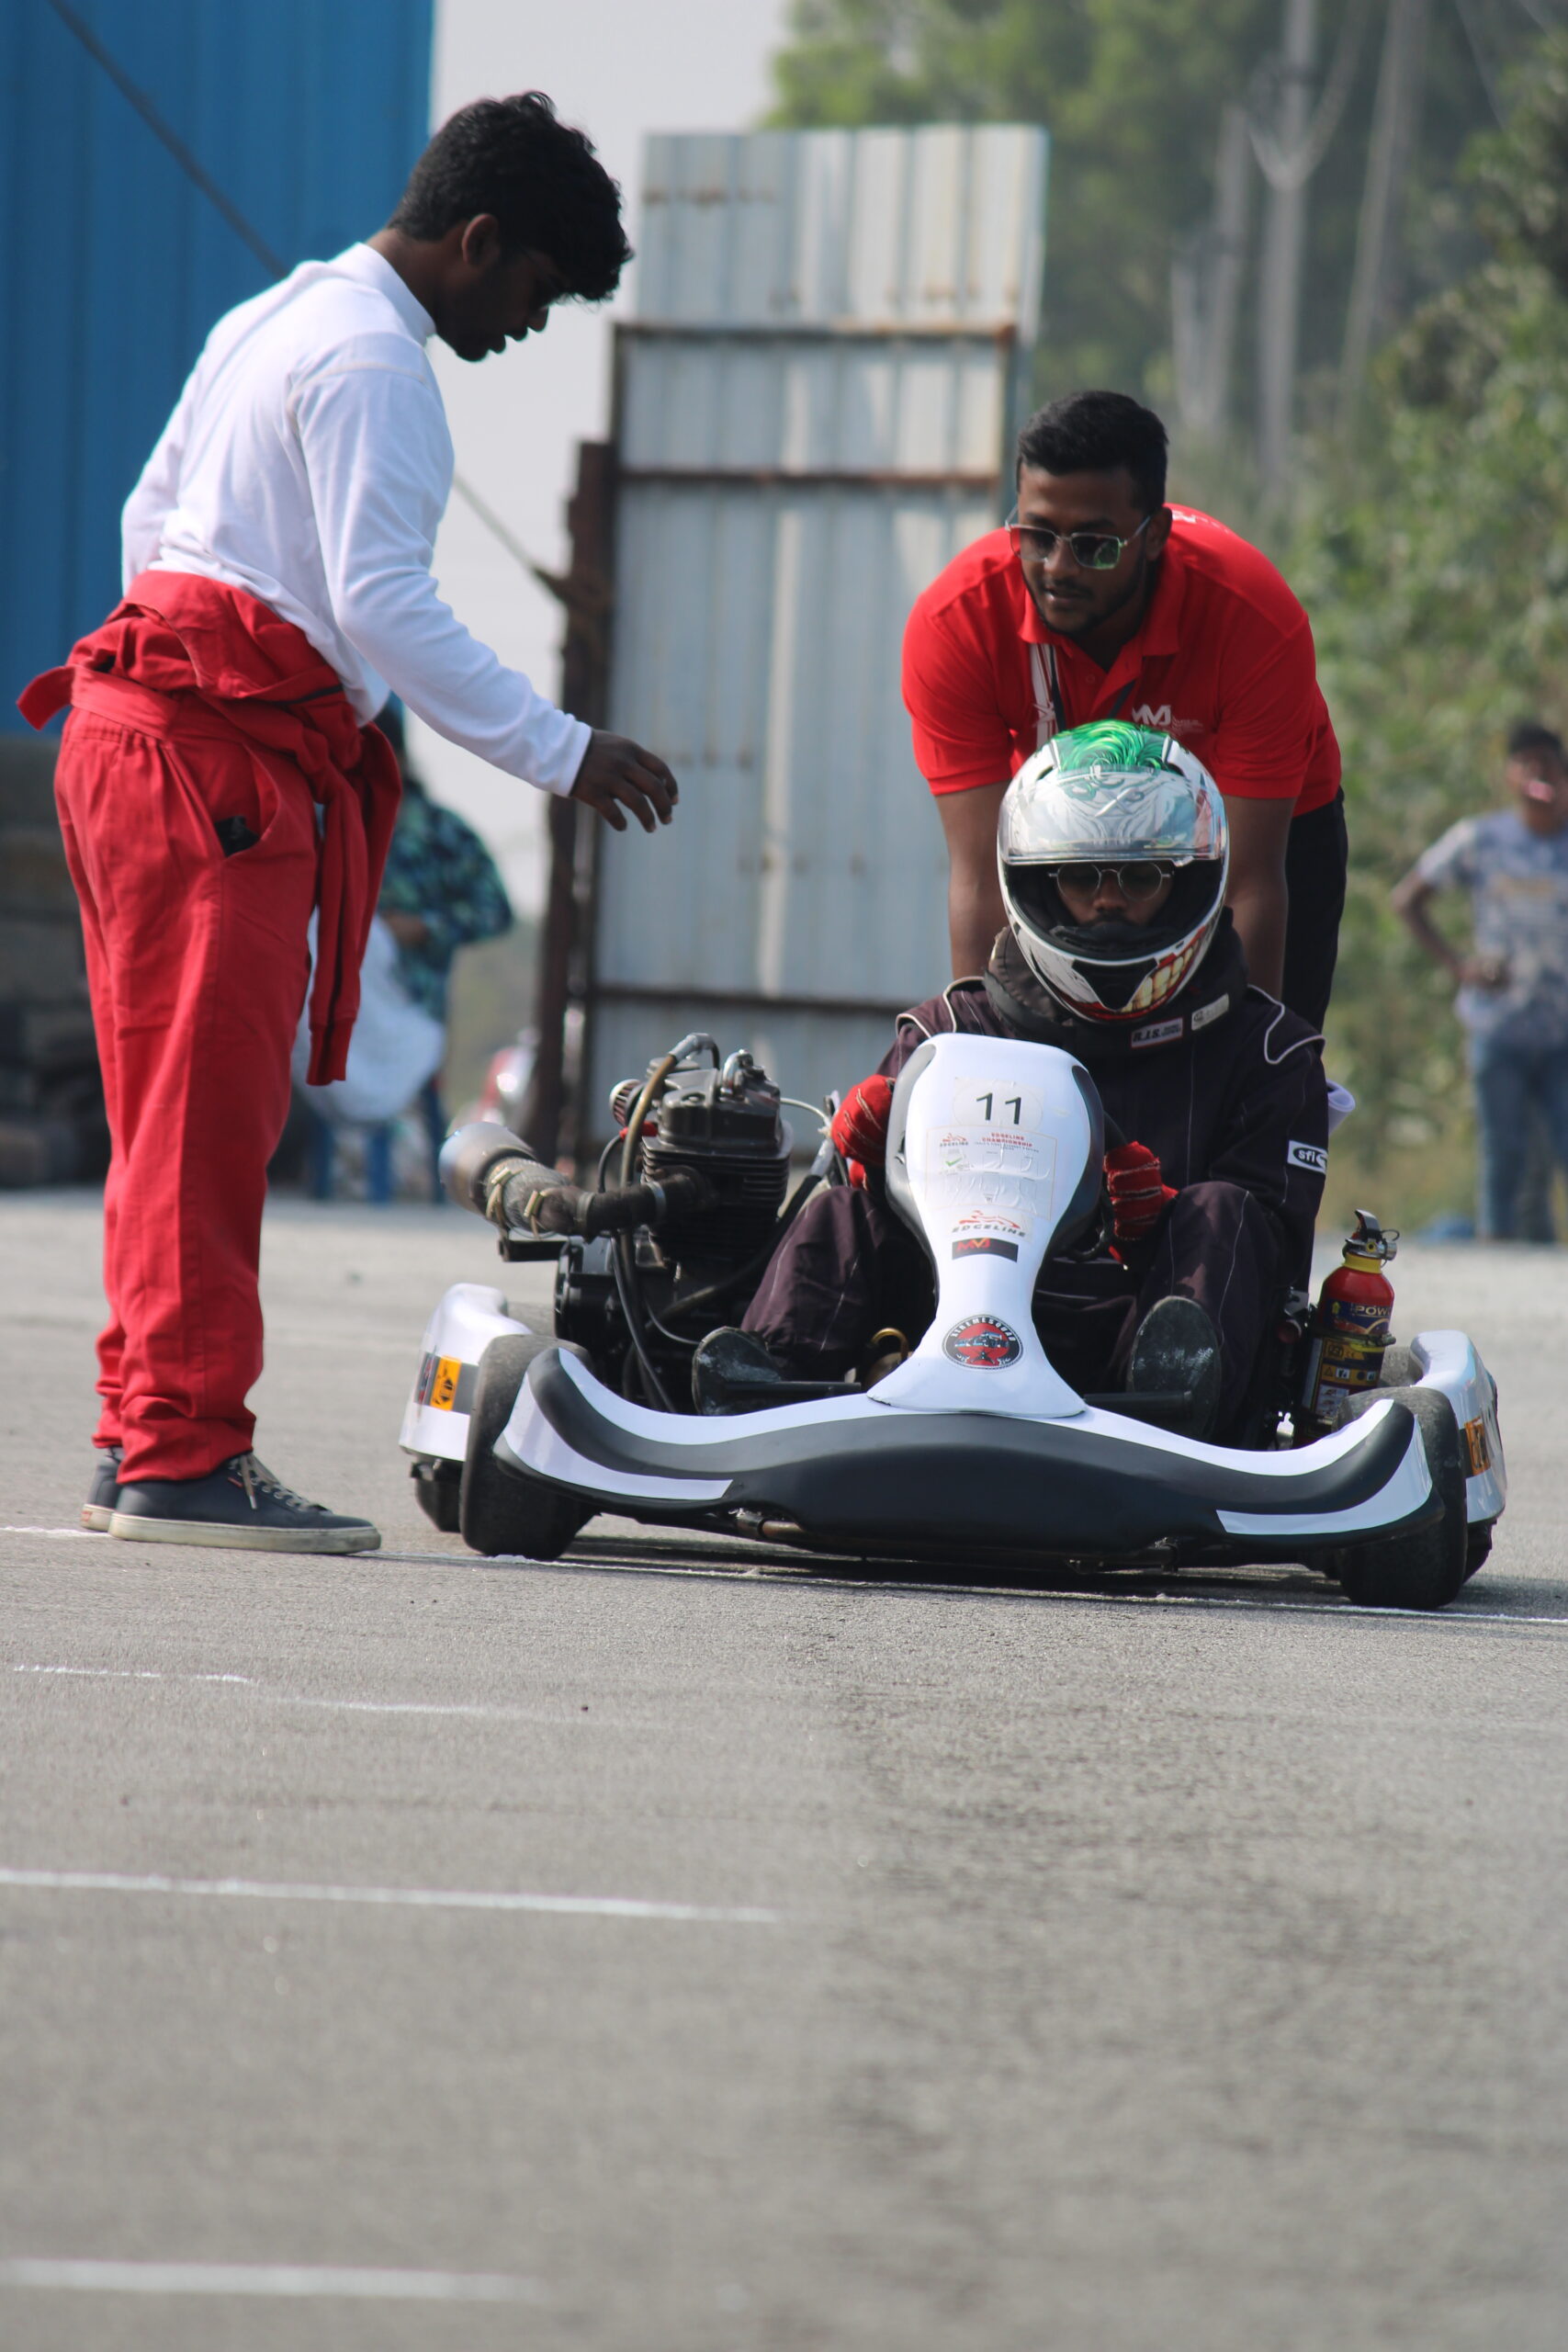
Causes:
- Loose fittings
- Weak hose clips
- Poor joint sealing
Always inspect system before testing.
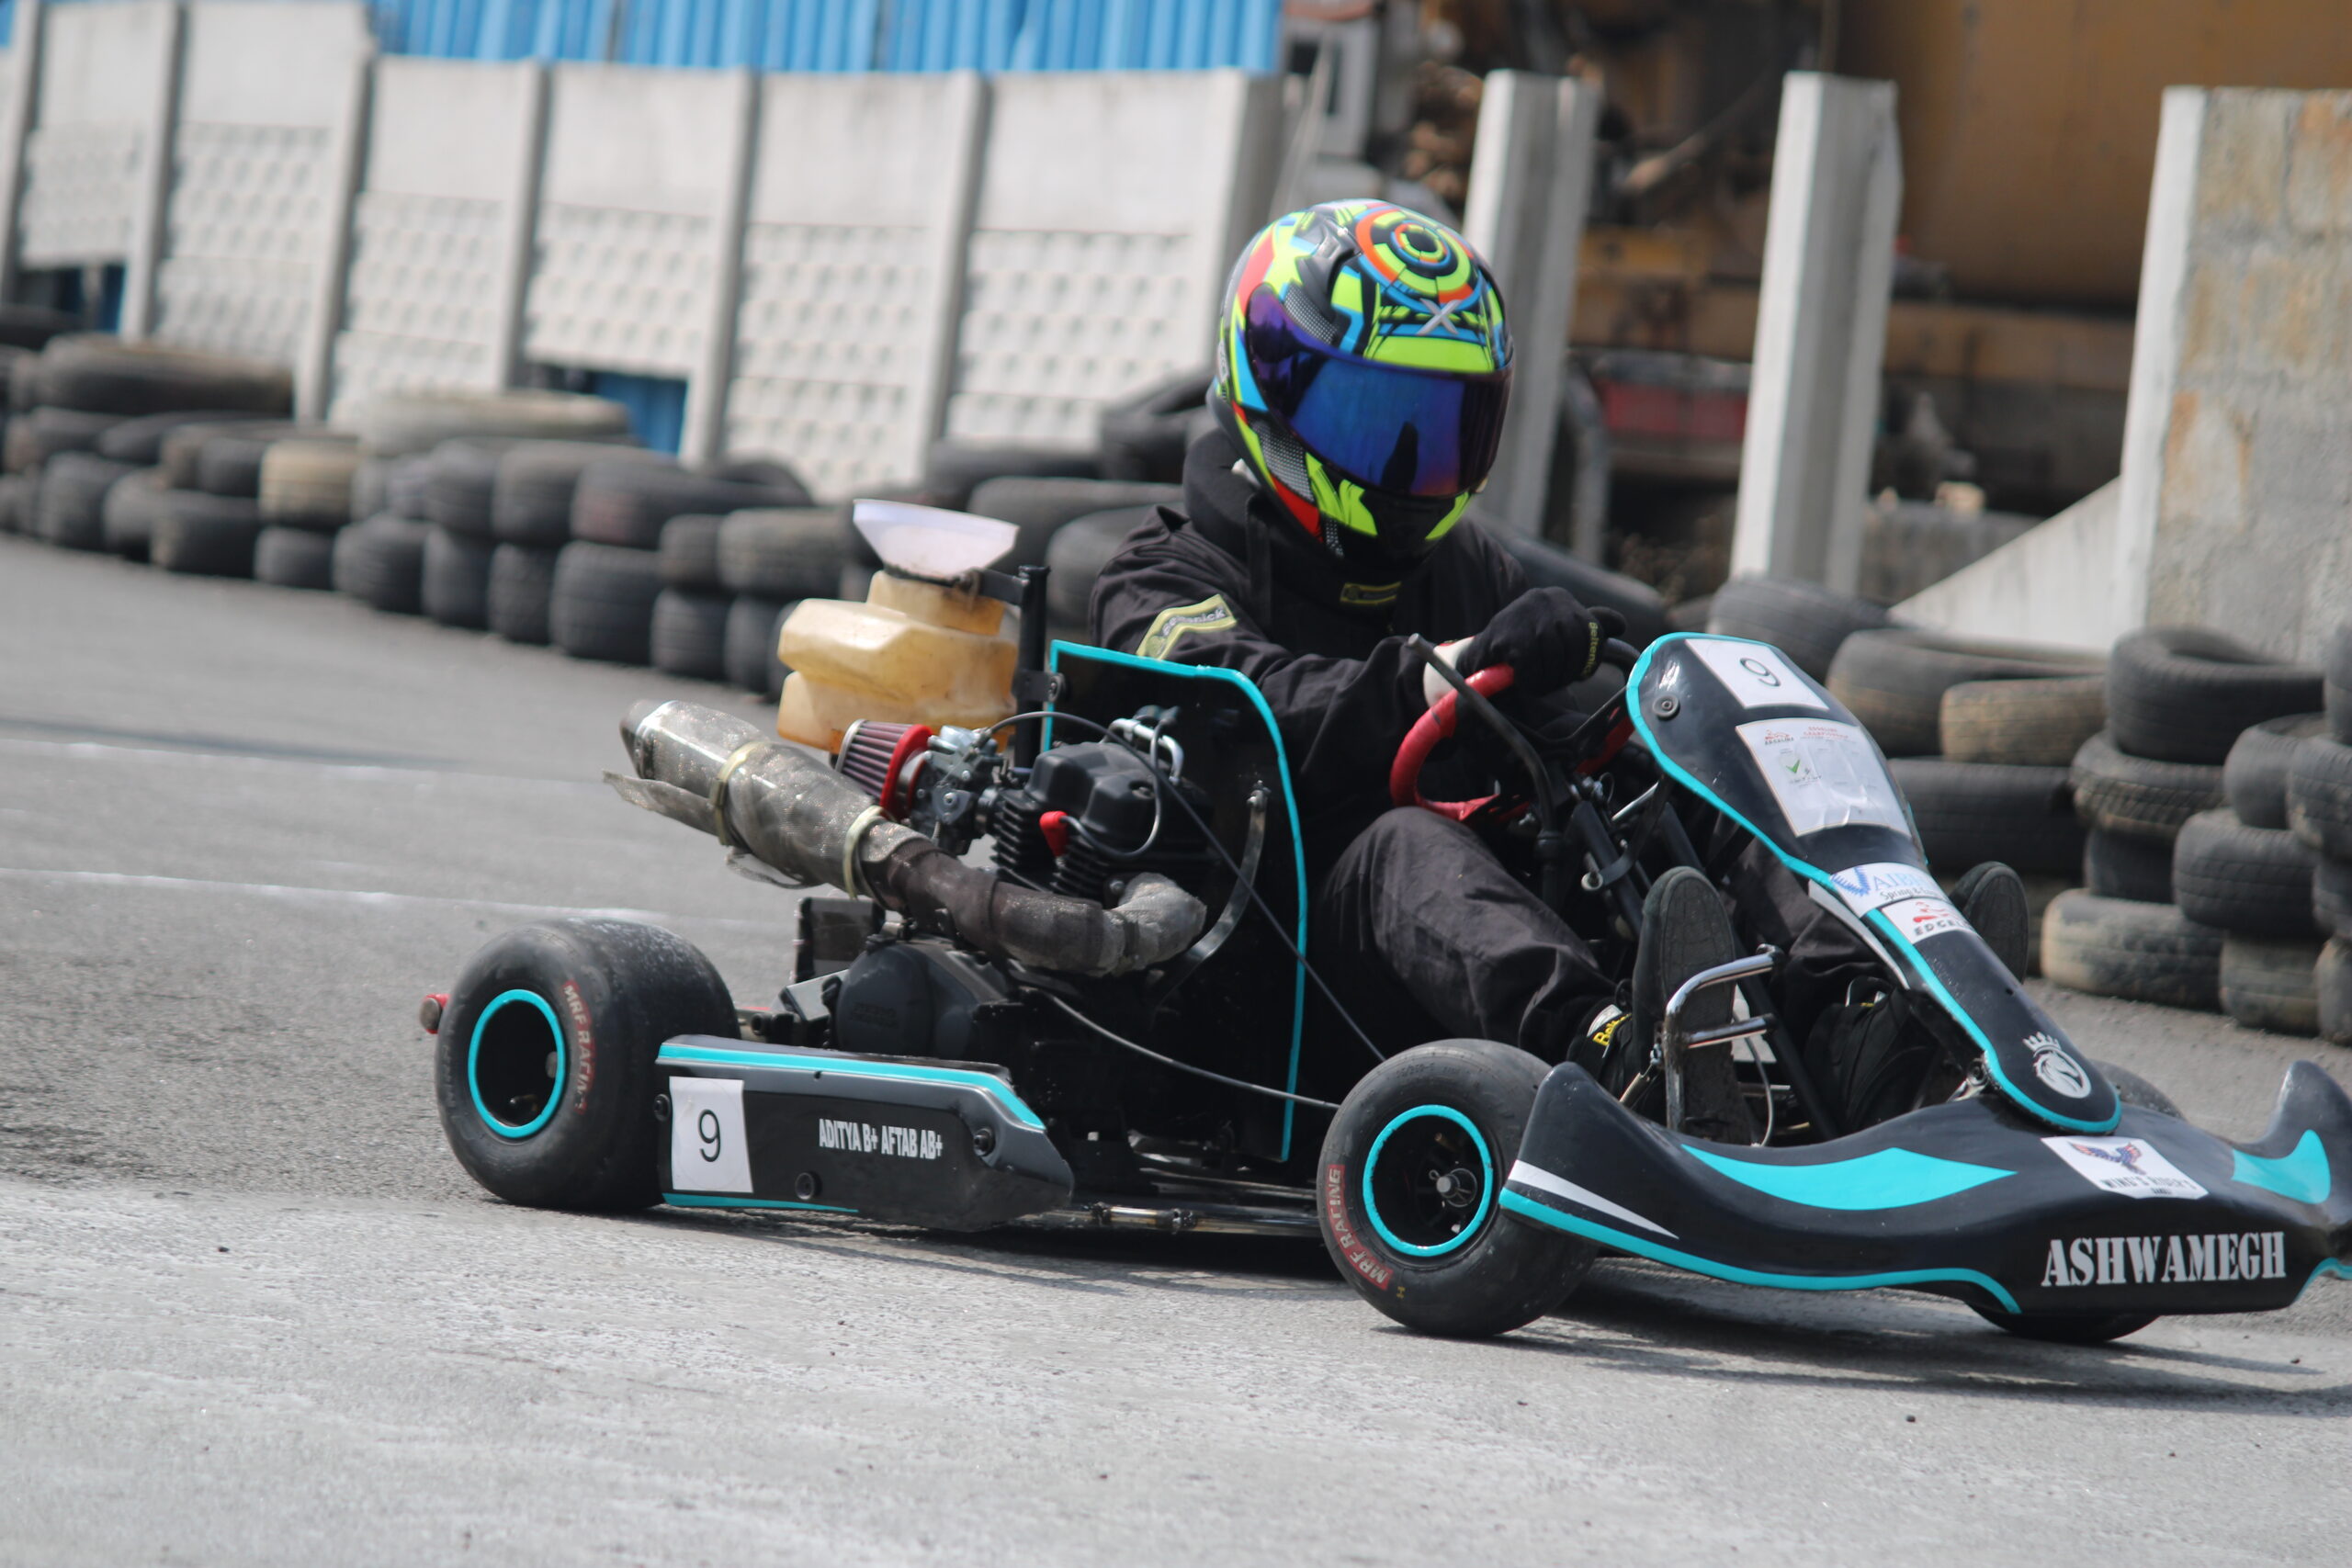
Cause:
- Brake imbalance
- Poor alignment
- Unequal braking force
Braking must remain straight and controlled.
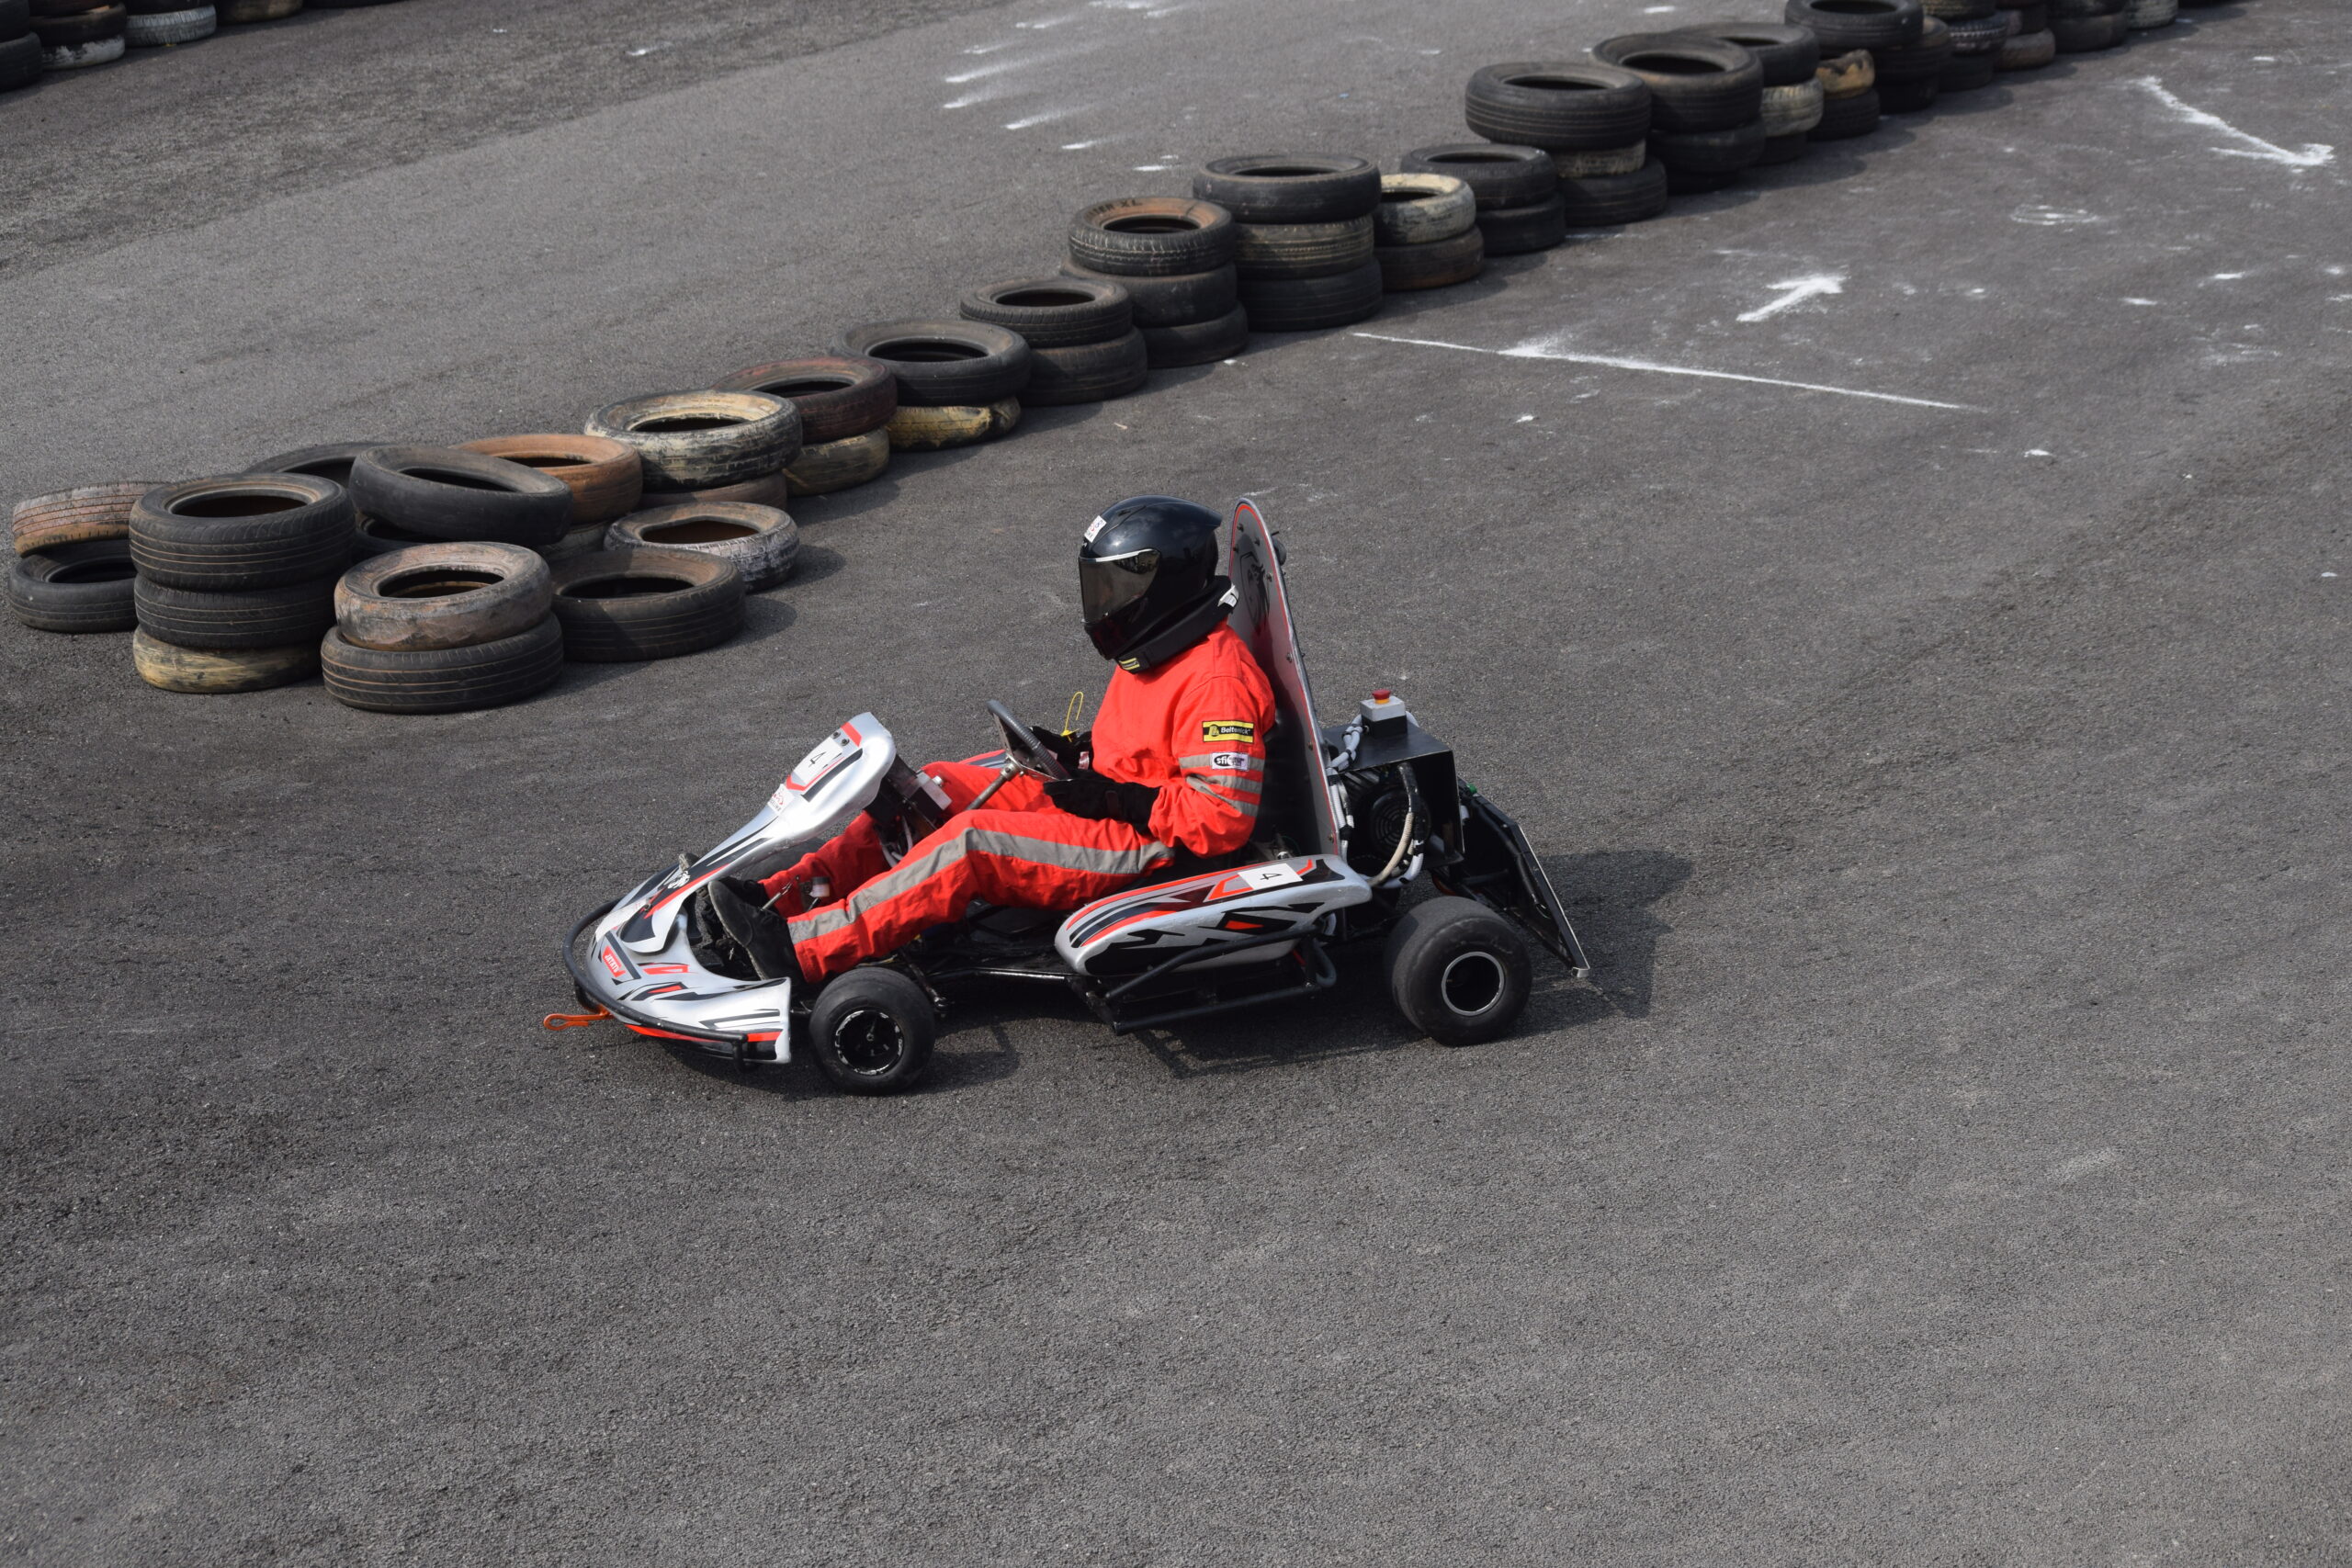
Rough or uneven surfaces affect:
- Stopping distance
- Vehicle stability
Always test on:
✔ Flat
✔ Clean
✔ Straight road
Reference Videos from Previous Teams
Learn From Real Testing Examples
To help new teams understand correct execution, we provide sample brake test videos from previous Edgeline teams.
These videos demonstrate:Correct layout markingProper accelerationCorrect brake timingIdeal stopping behaviorProper camera placement